Here's a simple tip to remove this red-eye effect.
Tools required: Adobe PhotoShop [PS] Version 7 or above.
Skill level: Basic.
So let's kick off.
Below is the sample photo, with red-eye.
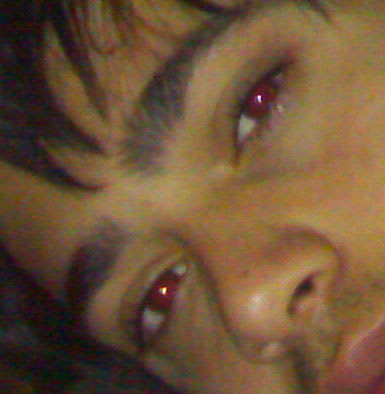
Open a photo in PS.
To avoid any mishap, Create a copy of that photo first.
Using Zoom tool [Shortcut key: Z, or Ctrl++, Command++], zoom the canvas so that you can see the red eye in quite a larger size. You'll notice that some part of the iris is not red, so we can take the eye color from that part.
Using eyedropper tool [I], click on the non-red portion of the iris to take eye-color shade, as shown in image below. If you can't find the right color, you can choose the most suitable color yourself.
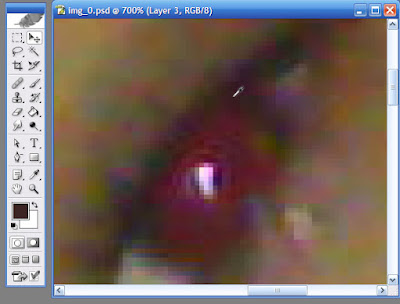
Create a new layer above the Photo layer.
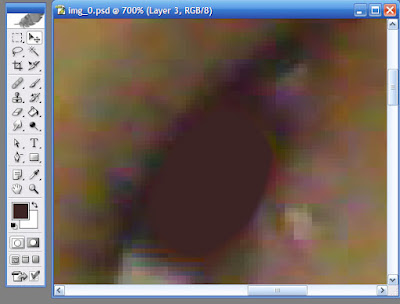
Using Paintbrush tool [B], paint over the red part of the eyes.
For best results, use a brush with some feather-edges around. [Right click the brush tool on the canvas and keep the Hardness value to around 50-70%, or choose a brush with soft edge]. Your Photo will look like, as shown below:
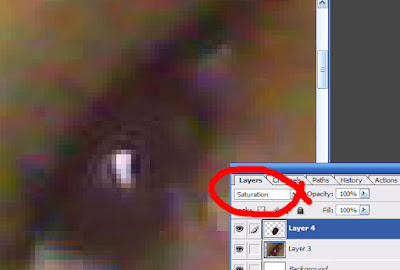
 Now, in your Layers panel, [If that is not open, go to Windows > Layers, to open it], change the blending mode of your painted layer to Saturation, as marked in the image below. This will remove the red color, while keeping the shine intact.
In many cases, you are done at this step. But if you still feel that there's some further amendments required, proceed to next step.
Duplicate the layer on which you painted the eyes. [Right click that layer and choose Duplicate, or simply Ctrl+J, Command+J]
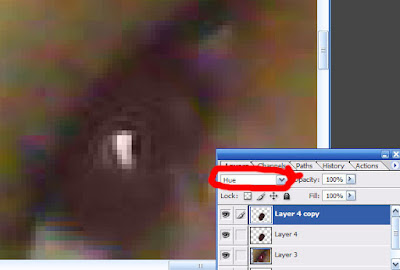
Change the blending mode of that new layer to Hue, as shown in image below:
 Zoom out the image to original size.
Congrats!
You're done!
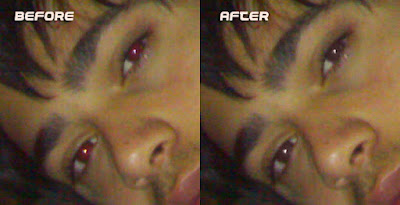
Compare the result with the original one.
No one will guess... :-)
No comments:
Post a Comment