Now we start this tutorial.
Step 1:
Select an image
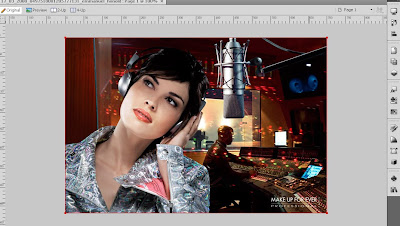
Step 2:
Place a rectangle block using Rectangle Tool (or press U) behind the image, which is equal to the desired banner width.
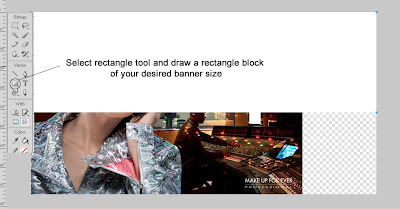 Step 3:
Toggle image and rectangle block position, by using layer palette or Ctrl + keys
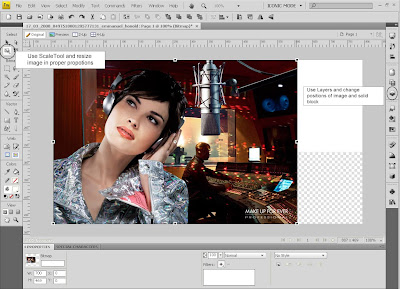 Step 4:
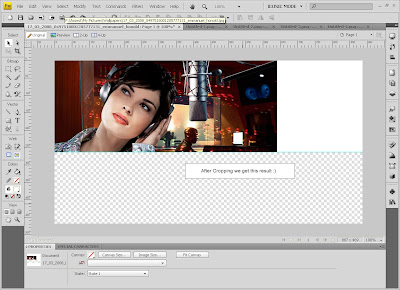
- Use Marquee tool to select area of the image and crop it, we used ruler to make sure that we select required height.
- Under properties panel we have all properties of a Marquee, which we can adjust as per our requirement.
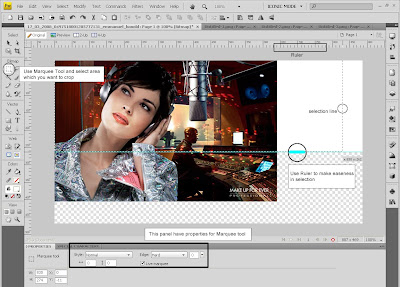 After Cropping we have this result.
 Step 5
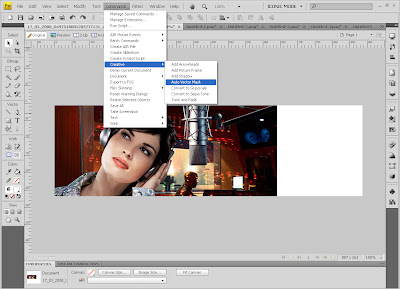
Go to command select creative option then select Auto Vector mask.
 After selecting Auto vector mask a panel open with following mask options
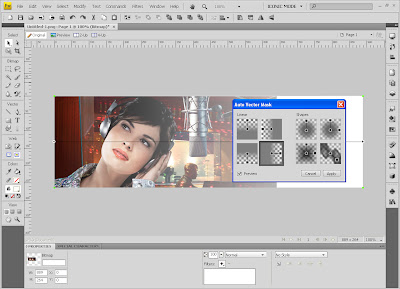 Select your desired mask option and press Apply button.
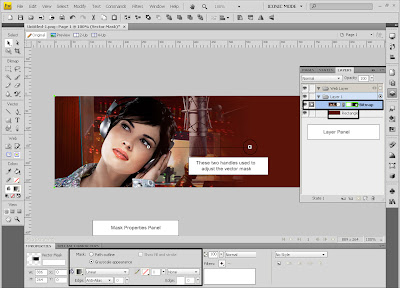
OK below image I have done few steps together but below image help you to find out what all I have done.
These two handles visible on image (we also pointed one of them a circle) are used to control mask position and opacity level.
Under the properties panel we have all vector mask options.
Vector mask layer is also highlighted in Layer Palette.
 Step 6:
After final adjustment of Vector mask, we put some text on Banner.
Good Luck, I hope that you will learn Vector mask with this simple Tutorial. Please give your feedback to help me to make things better.

At the end of this tutorial i am thank full to Makeup Forever for their image contribution and Dafont.com for their fonts.
No comments:
Post a Comment